Before the Cut: A Short History of the Scene Transition
Scene transitions guide attention across changes in time, place, and action. See how early fades and dissolves gave way to continuity cuts and digital effects.
Scene transitions shape what viewers notice between one image and the next. In early narrative films, fades and dissolves made those boundaries visible; continuity editing later made many changes feel like shifts within an ongoing action. The history is not a march toward the cut alone. Each form still offers a different way to direct attention.
Early films made scene changes visible
In the late nineteenth and early twentieth centuries, films often presented brief views as separate attractions. As filmmakers began joining shots into longer stories, audiences encountered edits as part of a developing screen language. It is safer to describe that language as taking shape than to assume viewers were unfamiliar with time or space: a cut could be abrupt, but its effect depended on the images and the way a film arranged them.
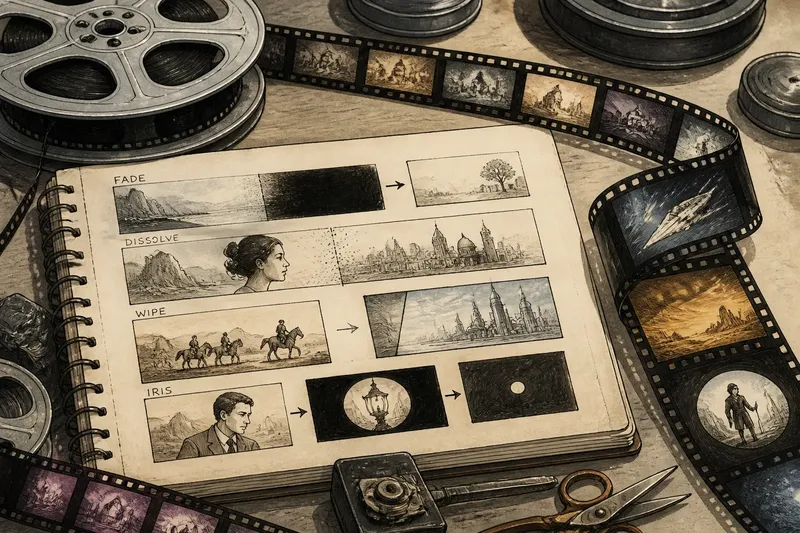
Fades offered a clear boundary. A fade-out darkened the image; a fade-in brought it back from darkness. Filmmakers could use these transitions to mark an ending or beginning, or to suggest a pause between scenes. They did not specify exactly how much time had passed. The surrounding action supplied the context.
Dissolves overlapped two images as one faded away and another appeared. The overlap could connect a change of place with a change of thought, or suggest that one moment followed another. The effect did not carry a fixed meaning. What viewers inferred depended on the images and the pace of the transition.
Wipes made the boundary part of the action
A wipe replaces one image with another along a moving edge. The incoming image may appear to sweep across the outgoing one, making the transition itself visible. Unlike a dissolve, which briefly joins images through overlap, a wipe emphasizes the motion of the boundary.
Wipes became a recognizable feature of American studio filmmaking, including the energetic scene changes in the Star Wars films beginning with Star Wars (1977). Their use there draws on an older, conspicuous screen device rather than hiding the change between scenes. The effect can feel brisk or theatrical, but the surrounding scene determines whether it reads as playful, emphatic, or simply functional.
Iris effects offer another visible form. An iris-in narrows the image around a chosen area; an iris-out closes it down. In silent-era films, such devices could isolate an object or character and give a scene a composed ending. Like fades and wipes, they remind viewers that the film is shaping the image rather than offering an uninterrupted view.
Continuity editing let the eye cross the cut
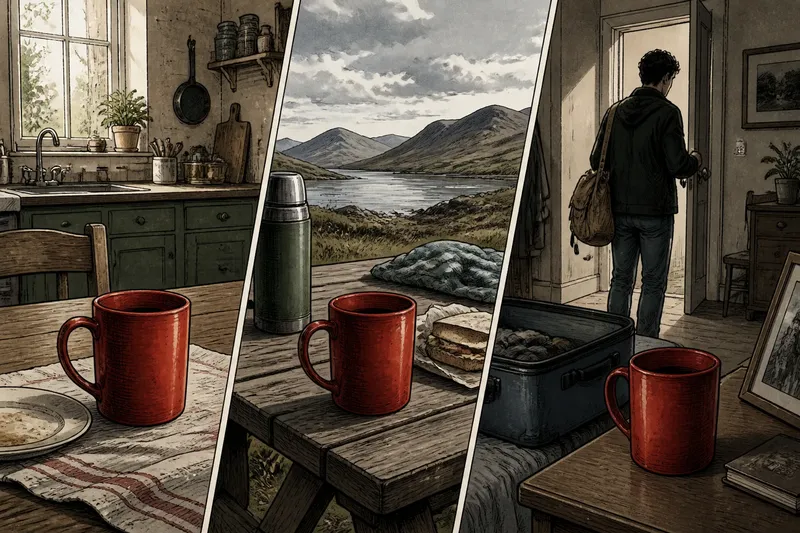
In the early decades of narrative cinema, filmmakers developed editing practices that linked shots through action, screen direction, and looks. A clear example is the match on action: a character begins a movement in one shot and completes it in the next. The cut remains visible as a change of image, but the continuing gesture gives the viewer a reason to follow across it.
Classical Hollywood films made extensive use of continuity devices such as the shot/reverse shot pattern in conversations and the eyeline match, in which a look is followed by the object or person being watched. These techniques organize space and direct attention without requiring a visible transition effect. Their conventions became familiar through repeated use, though films have never used them in only one way.
Sound could also cross a cut. Dialogue, music, or ambient sound might begin before a new image appeared or continue after the picture changed. This overlap links the shots by ear, even as the image redirects attention. Continuity can make the edit unobtrusive, but it does not make the choice neutral: the next shot still determines what the viewer sees.
Digital editing kept old transitions in circulation
Digital editing systems made transitions easier to adjust and combine without relying on the same physical processes used to alter film. An editor could reshape a dissolve or wipe in software and preview the result alongside the surrounding shots. The underlying choices remained familiar: whether to mark a boundary, connect images, or carry attention through an action.
The availability of effects does not make them useful in every passage. A transition that calls attention to itself without clarifying a change in time, place, or tone can distract from the scene. A direct cut may be the cleaner choice; a fade may give an ending room to settle. The method earns its place through the relationship it creates between the images.
Older forms remain legible, too. A dissolve can still suggest a connection, a wipe can make a scene change feel deliberately displayed, and a cut can preserve the flow of action. A familiar device may now evoke a particular genre or style as much as it helps orient the viewer.
What does a scene transition ask you to notice?
What makes a cut feel almost invisible?
Movement, screen direction, or sound can continue across a cut and give the viewer a path to follow. The change of image may register less strongly than the action or sound that carries on.
Does a dissolve always mean time has passed?
No. A dissolve can connect images in time, place, or thought, but the overlap does not define the relationship on its own. Read it alongside the images and the scene around it.
Why use a wipe instead of a cut?
A wipe makes the change of scene part of what the viewer sees. Its moving edge can give the transition a distinct rhythm or a deliberately graphic tone.
Can a visible transition feel natural?
Yes, if its pace and style fit the passage between scenes. No single technique is inherently natural; coherence depends on how it works with the film’s other choices.
A focused viewing routine reveals how transitions work
Choose a short sequence with more than one scene change. Watch it once without pausing, then replay it and examine the boundaries. The following observations help distinguish what each transition does without forcing every choice into a symbolic reading.
- Notice whether the image darkens or brightens. If it fades to or from black, treat that as a visible pause or boundary; if it does not, look for another transition cue.
- Check whether two images overlap. If one image dissolves into another, ask what the images connect; if there is no overlap, do not infer a dissolve.
- Watch for a moving edge. If one image sweeps across another, identify a wipe; if the boundary does not move, consider a cut or another effect instead.
- Follow a gesture across the edit. If a movement begins in one shot and continues in the next, note how it links the action; if it stops, look for a different cue that connects the shots.
- Track a character’s gaze. If the next shot shows what the character appears to see, read the pair as an eyeline match; if it does not, avoid assuming the shots share that point of view.
- Listen for sound that crosses the image change. If speech, music, or ambient sound continues, note how it bridges the shots; if the sound stops, attend to the break rather than inventing continuity.
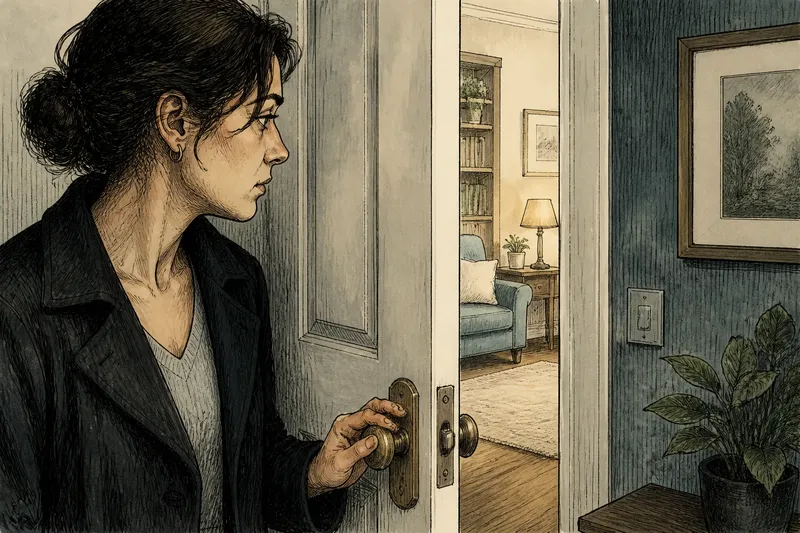
Say you choose an invented sequence in which a character leaves a bright kitchen and appears in a dim hallway. On the first viewing, the change seems abrupt. On replay, you notice that the refrigerator hum continues under the hallway image and the character’s walking motion carries across the cut. The resulting reading is that the location changes, while sound and movement link the two shots; the transition is both a boundary and a bridge.
It is not worth assigning a grand symbolic meaning to every fade or treating every cut as a hidden argument. Start with what changes, what carries over, and where the next image directs your attention. That approach makes the history of scene transitions concrete: viewers can still see when a film marks a boundary and hear or watch how it invites them across.